Showing posts with label Sweet Foods. Show all posts

Thursday, 10 October 2013

Honey Spoons

This is a super easy and (sort of) fast snack to make!

Ingredients/supplies
~Napkins

~Honey

~Plastic spoons


1) Pour honey on the spoon, but not too much.
2) Balance the spoon in a freezer so that the honey does not spill. Place the napkin underneath so that if it does spill, it will go onto the napkin.
3) Leave in the freezer for around 6 hours, or more.


Enjoy your simple and delicious snack!

Cold honey is really good. :)


Pictures belong to their respective owners. All images found on Google.


~Quinn

Monday, 7 October 2013

Autumn Fruit Compot

Hello! This is SilverDawn, here with another of my inventions.

*This recipe must be made with the supervision of a grown-up at all times.*

Ingredients

A cup of blackberries

Two pears

Two apples

A spoonful of honey

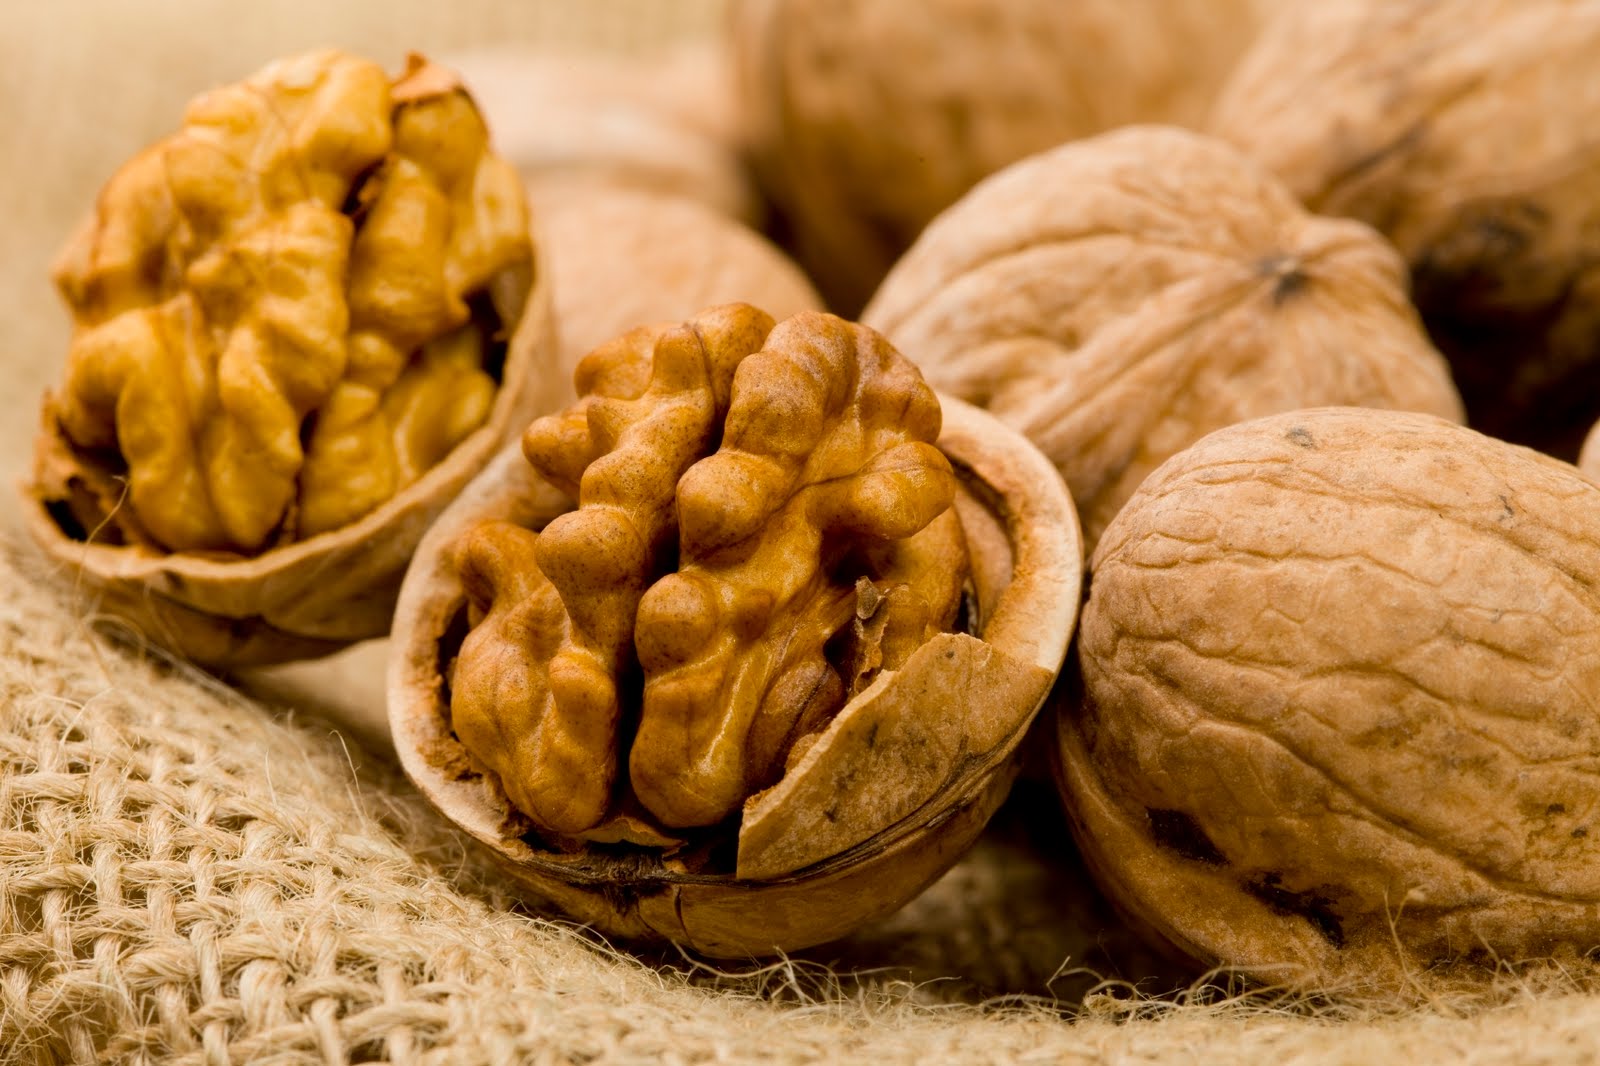
Walnuts

Hazelnuts

A drop of water

Note: this is one of those recipes when you can alter the ingredients for what you have in your kitchen. E.g. other nuts would work instead of walnuts and hazelnuts, and the honey isn't a necessity, and you could do four apples instead of two and two pears.

Method


  • Cut the pears and apples into little pieces. 
  • Cut the nuts into quarters.
  • Put two centimetres deep water into a saucepan. 
  • Put on a low heat and add the fruit, nuts, and honey. 
  • Keep stirring constantly until it turns into a thick fruit stew.
  • Serve warm, with yoghurt. 
Enjoy! :D


Tuesday, 17 September 2013

Shortbread

The name of this is completely ironic, as shortbread can be any shape or size you like and is a sort of biscuit, not bread!

When I was small, the meaning of the word "biscuit" was basically "shortbread". When we had a biscuit (which was rarely, when I was small), it was shortbread. Now, we don't have shortbread that much as it's hard to find in France. But, it is easy to make!

Ingredients

  • A cup of butter at room temperature
  • Three quarters a cup of sugar
  • Half a cup of sifted all-purpose flour

Method

Mix all the ingredients together. Put in a dish for baking. Prick all over with a fork. Ask a grown-up to put it in the oven. 35 minutes later, take it out of the oven. Don't burn yourself!
And you're done!


Thursday, 15 August 2013

Hello and Chocolate Peanut Butter Balls

Hiya everyone!

My name is Erika, I am the newest Contributor/Author to the Best of Tasty Recipes! I'm so excited to share all I know about recipes! I hope some of you learn something new, and, maybe even try too make my recipes! Here is just a couple facts about me so you can get to know me better.

1. I LOVE animals and have 37. I also LOVE cooking and baking.

2. My favorite book is Warriors, my favorite movie is Lord of the Rings, and my favorite song is Just Give Me A Reason.

3. I have one sister.

4. I am Homeschooled.

5. I ride horses and compete on them.

6. My favorite subject in school is Science.

7. I plan on trying to become a Vet Tech, and then up too a Vet when I reach the age.

Alright!  Now that you know a bit about me, lets get cooking! This is a recipe that is easy, fast, and does not require boiling or a oven!


Chocolate Peanut Butter Balls

Ingredients:

1 Cup of Powdered Sugar
Half a cup of Peanut Butter
3 Tablespoons (tbsp.) of Butter
1 Bar of Chocolate (Sweet or Semi-Sweet)

Supplies:

Medium Bowl
Large Cooking Sheet
Wax Paper
Large Spoon (Wooden works best)

Technique:

1. Mix the Peanut Butter and Butter into the medium bowl. Make sure the butter is mixed well and there is no big chunks. Gradually add the Powdered Sugar to the mix. Mix well.

2. Cover the Large Cooking Sheet with some Wax Paper, you do not have to cover the whole pan, as long as the Peanut Butter Balls can fit on it. Make your Peanut Butter mixture into small balls, bite size is the best way to do it. Line them up on the Cooking Sheet with the Wax Paper and let them sit for about 10 minutes.

3. Once the ten minutes is over, check to see if the Peanut Butter Balls are a little bit hard. If not, wait another ten minutes and repeat, if they are continue. Place the chocolate bar in a large bowl. (The one we just used works.) Heat it in the microwave for 1 minute or until melted. (Depending on the microwave.)  Take the chocolate out and stir well. Grab your Wooden Spoon.

4. Put a Peanut Butter Balls one at a time in the Wooden Spoon and roll them around until it is completely covered in chocolate. Place them back on the Cooking Sheet when each one is done. Then, place them in the fridge for about 30 minutes. Once the chocolate is hard, take them out and enjoy!


Other details about Chocolate Peanut Butter Balls

Calories: 116.5
Total Fat: 7.7 g
Sugars: 4.1 g
Saturated Fat: 2.9 g
Cholesterol5.4 mg
  Sodium62.2 mg
  Potassium82.8 mg
  Total Carbohydrate10.6 g


Wednesday, 14 August 2013

Apple Tart

Hello! ^.^ When we made the lemon pie, we made double the amount of pastry needed for the lemon pie so we could make an apple tart, as well. It's yummy, and so easy!

INGREDIENTS

  • Seven apples.
  • Sprinkling of sugar.
  • A tablespoonful of ground cinnamon.
  • One precooked pie case

or
  • 250 grams of flour.
  • 1 egg. 
  • 25 millitres of water. 
  • A spoonful of sugar.

METHOD

For the pastry...

  • Mix the ingredients together. 
  • Roll it with a rolling pin. 
  • Spread it in a pie dish. 

For the filling...

  • Slice the apples in little slices.
  • Put the slices of two apples (not all of them!) into a saucepan with a drop of water and ask a grown-up to stir it while cooking it until it turns into compote. 
  • Spread the compote on the pastry, in the pie dish. 
  • Put the sliced apples on top.
  • Sprinkle them with cinnamon and a little sugar.
  • Ask a grown-up to cook it at 190 degrees C until it looks ready.

Enjoy! :D Here is a picture off Google which it should look like:


~SilverDawn~

Saturday, 10 August 2013

Lemon Pie

Only another two more followers needed before I do a special cake recipe! :D We have got to 1000+ views, so to reward you for that I'm posting on the delicious, sweet and tangy lemon pie! For this recipe you will need a grown-up to help you.

I found this recipe in the Behind the Scenes Journey of my Puffin Classics edition of Anne of the Island by L. M. Montgomery, and then adapted it. I can never make a recipe without making some adaptions ;) I apologise about the fact that the filling is measured in cups but the pastry in grams. 

INGREDIENTS

For the filling...

  • One and a half cups of water. 
  • Quarter a cup of sugar. 
  • Half a cup of cornflour (cornstarch).
  • 3 beaten egg yolks. 
  • 2 thirds a cup of lemon juice.
For the pastry...

  • One precooked pie case

or
  • 250 grams of flour.
  • 1 egg. 
  • 25 millitres of water. 
  • A spoonful of sugar.

METHOD

For the filling...
  • Smile. If you miss out this step then your pie will be a FAILURE!
  • Mix the cornflour, water, and sugar in a saucepan and bring to the boil. 
  • Add some of the mixture to the bowl of beaten egg yolks. 
  • Pour all the egg mixture into the saucepan. 
  • Return to a gentle heat, and add the butter and the lemon juice, stirring constantly until the mixture thickens. 
  • Remove from the heat.
  • Cook the pastry for about 7 minutes and then take out of the oven.
For the pastry...

  • Mix the ingredients together. 
  • Roll it with a rolling pin. 
  • Spread it in a pie dish. 
  • Put it in the oven at 160C and then put it up to 190C for the last 15-20 minutes.
  • Take it out (with oven gloves).
  • Add the filling. 
  • Cook.

That's what the pie should look like when you've put it in the oven! :)

~Kinyonga and SilverDawn~

Tuesday, 30 July 2013

Orange, Green, and Yellow

If you're thinking I'm going to make you eat colours, then I can relieve you from that dreadful thought because this is a recipe for fruit salad! It serves 6 hungry people.

You will need...

10 green ("white") grapes

1 melon of this sort

1 smallish mango

A few kiwis

Method

1. Halve the grapes.
2. Cut the mango flesh into cubes. 
3. Cut the melon flesh into cubes. 
4. Peel the kiwis and cut them into cubes. 
4. Put them all in a bowl.
5. Put them in the fridge for a few hours.
6. Enjoy!

This is delicious with ice cream or yoghurt, or just on its own!

~SilverDawn~

Thursday, 13 June 2013

Rice Pudding

Hello! :D

A few days ago, we made rice pudding! It was scrummy!


I know a lot of people who have eaten rice pudding at school have a bad opinion of it, but trust me - schools never try and make anything properly. Homemade rice pudding is DELICIOUS! <3

Start by mixing five cups of milk and two or three cups of uncooked rice in a pan for about twenty minutes. Stir frequently, or it will stick to the bottom.

In between stirs, mix together two eggs and half a cup of brown sugar. Then add three tablespoons of the hot rice mixture, stirring. Then, poor the egg mixture back into the pan of hot rice, and stir.

Stir, stir and stir. Turn off the hob and leave it. When you come back, it should have thickened to perfection.

Enjoy! :D


PS. Contributors - post, will you? ;b

Saturday, 1 June 2013

Elderflower Icelollies

Hello! :D This is SilverDawn, with another recipe for summer! ^.^

You will need...

Elderflower! 

Icelolly moulds!

Boiling water!


Method...

To start off with, soak the elderflower in the boiling water to make elderflower cordial. Leave the flowers steeping there for 48 hours so the flavour goes into the water. 

Once those aforesaid two days are over, you can take the flowers out, sieve the little bits of petal and stuff, and then add sugar and/or lemon if you think it needs it. 

Then, pour a teaspoonful of the cordial into each icelolly mould, and fill the rest with water. Close the icelolly moulds and put them in the freezer for about five hours, give or take a little while. :)

And you're done! :D It's delicious and refreshing!

Monday, 27 May 2013

Grilled Bananas

Meep! Another bananay recipe! :3
No, it's not like a barbecue - bananas with chicken juice...eek! It's a sweet dish and it's delicious! Here's how:

Ingredients:
Bananas
Sugar (optional)
Cream/Yoghurt (optional)

Utensils:
Oven
Baking dish

Method:
Simply get the bananas, preferably oldish ones which look like this:
Not too black though. And make sure you cut out any bad bits, like this!
They would taste awful :p
Anyway, peel the bananas (preferably put the skins in the compost)

 and put the skinned bananas in a dish.
 
 Make sure there aren't too many in the same dish, otherwise they won't cook so well. I had to use two dishes, here.
Then, you can (if you want!) put some sugar on them to make them even sweeter. But be warned! They are very sweet anyway, so it may over-sweeten them! This done, put them in the oven for half an hour or so.
Take 'em out, and they should look like this:
If they're overdone, there's not really anything you can do about it XD if they're underdone, just put them back in for a bit. Add cream, sugar and/or yoghurt as you wish! They are very rich, though so don't eat too much! (There speaks someone who has been influenced by an adult...sad...)

~Kinyonga

Sunday, 26 May 2013

Banana Icecream

Hi! This is my first post! I am MisterChunkybuddy, and I am here today to show you how to make a very interesting type of icecream.
What makes it interesting is that it contains just one ingredient: Bananas! Yes, nothing else. So that makes it very healthy.

(Picture off google)
You need:

  • Bananas (About one or two per person)
  • A bowl.
  • A knife.
  • A blender.
  • A fridge.
Instructions:
  1. Cut in small pieces all the bananas you are going to use.
  2. Put them into the fridge.
  3. A day later, take them out. They will be quite cold.
  4. Put them into the blender until they are ice-creamy!
  5. Serve on a bowl or plate.
It is delicious, and a perfect way to have something both healthy and delicious!

Friday, 17 May 2013

Sweet and Salty Snacks!

This is going to be a collection of several quick and easy recipes for snacks!


Chocolate Pretzels:

Take twisted pretzels and lay them on a cookie sheet. Melt chocolate in a microwave or on a stove. Take a spoon and spoon a spoonful of chocolate onto each pretzel. Place a Peanut M&M on the melted chocolate.
Enjoy!


This next snack may seem a bit odd, but it is (in my opinion) pretty tasty.

Take potato chips, and dip them in melted chocolate. When the chocolate is still soft, sprinkle the chips with sprinkles and other small sweet candies. Let the chocolate cool. Enjoy!

For a potato chip snack variation, you can dip potato chips in whipped cream.


Sorry that there aren't any pictures, but Google wouldn't load. -.-


Anyway, hope you enjoy those sweet and salty snacks!

~vms915

Tuesday, 7 May 2013

Chocolate Crispies

Mmmmmmmm!!! I love this! ^.^
It's extremely simple to make.

Ingredients:
Chocolate
Cornflakes

Utensils:
Hob
Saucepan
Spoon
Paper cupcake cases

Method:
1. Get a large bar of chocolate
 
and place it in a saucepan.
 
2. Turn the hob on, and put the saucepan on top of it. (You'll need a grownup for this bit.) Wait for the chocolate to melt.
3. Get out some cornflakes (Kellog's is good).
  
4. When the chocolate has melted, turn off the hob and take the saucepan off.
5. Pour the cornflakes into the chocolate and stir around until all the flakes are nicely covered. 
6. Spoon the chocolate cornflakes into the paper cupcake cases.
 
7. Wait for it to cool and then...EAT!!!

Also, a good idea to use those chocolate crispies for is an Easter Hat (my invention)! I've used that idea twice :3 you just make a BIG bowl of them and hollow out the centre. Put chocolate eggs, chicks etc in side and voila! :) (You can eat it afterwards, too!)

~Kinyonga

Saturday, 27 April 2013

Brownie in a Mug

WARNING: SO DELICIOUS YOU COULD HAVE A HEART ATTACK!!
Just kidding! But it is really good and you might not even need a parents help it's so easy!!!!! Here are the ingredients:

  • 1 tablespoon of cocoa powder
  • 1 forth a cup of sugar
  • 1 forth a cup of flour
  • Pinch of salt (very small small amount!)
  • 2 tablespoons of oil
  • 3 tablespoons of water
The instructions are:
  1. Mix dry ingredients in the mug first.
  2. Then add the wet ones. Ha! I just said wet ones like the wipes
  3. Stir all together VERY WELL!!!! If it's not stirred good enough it won't taste as great! :|
  4. Put in the microwave for 1 minute and 10 seconds. 
See its so simple and it takes no eggs and tastes like a real brownie! NOTE: EAT WITH VANNILA ICE CREAM FOR MORE YUMMYNESS!!  (or chocolate chips, even better, BOTH!!)

Image credit to google images

Wednesday, 24 April 2013

Cookies! :D

Recipe for egg-free Chocolate Chip Cookies

Makes about 20 cookies

Ingredients:
  • 10 Tablespoons of butter 
  • 1 cup of sugar 
  • 1 1/2 teaspoons vanilla
  •  1/4 cup applesauce
  • 1 cup flour
  • 1/2 teaspoon salt
  • 1/2 teaspoon baking soda 
  •  1/2 cup rolled oats
  • 1 cup chocolate chips
~In a mixing bowl, beat together the butter and sugar until light in color. This should take around 2 minutes in a mixer, or 5 if you are doing it by hand. 
~Add the vanilla and applesauce, and mix until fully incorporated. 
~In a separate bowl, sift together the flour, salt, and baking soda. Make sure you do it really well, or you'll have salty spots in your cookies! 
~Slowly add the flour mixture to the wet ingredients, stirring well. 
~Once fully mixed, add the oats and the chocolate chips.
~Preheat your oven to 350F (175C) 
~Scoop into balls that are about the size of a ping-pong ball, and bake for 8 1/2 minutes. 

**The cookies will NOT look done, but let them cool on the hot tray for about 5 minutes, then move them to a cooling rack. THEY WILL BE MUSHY but...Once they are completely cooled, you will have perfectly soft cookies! ^.^ You may have to adjust the baking time according to your oven.**
  
**You can also eat as much of the cookie dough as you want (or as your parents will let you, haha) because there are no eggs in it! :D so no worries about salmonella or anything like that! ;)**

~Amy Blythe~

Tuesday, 16 April 2013

Apple & Blackberry Crumble

I love apple crumble! :3 Here's how to make it.

INGREDIENTS

 (serves 16)

For the filling:
  • 10 large Granny Smith apples
  • Half a cup of blackberries
  • 1 and a half a cup of dark brown sugar
  • 1 tablespoon of ground cinnamon
  • 2 teaspoons of ground nutmeg
For the crumble topping:
  • Half a cup of caster sugar
  • 1 cup of plain flour
  • 1 and a half a cup of rolled oats (or muesli)
METHOD

First, ask a grown-up to preheat the oven to 180C/350F/Gas 4. 

Then peel and core the apples, and cut into cubes.  


Put the chopped apple and the blackberries in a bowl, and mix with the dark brown sugar and the spices. 

For the crumble topping, tip the flour, sugar, and oats into a large bowl. Add the butter, and then with your fingers rub it all together to make a crumbly breadcrumb texture. Make sure it doesn't get too fine. 

It should look somewhat like this, apart from you should have a lot more than shown in the picture! :)


Then, pour the fruit into a baking dish, and then cover with the crumble topping. Cook until it looks like this:

You can eat it as soon as it's cool enough, or put it in the fridge and reheat it later. 


Mmm! :9


Once again, credit for the photos goes to their original owner, as they are off Google. 
Related Posts Plugin for WordPress, Blogger...